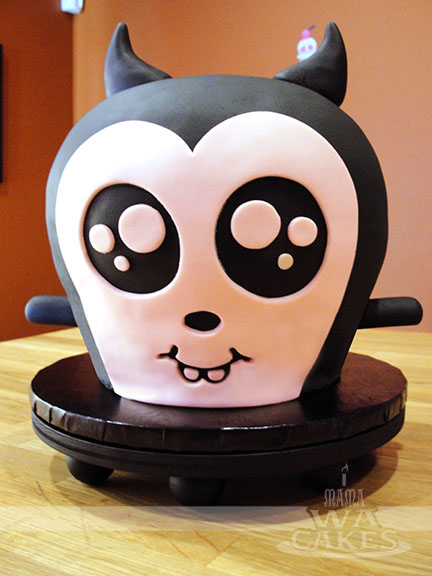
Last year, I was happily blessed with my daughter, Eva. She has been a wonderful addition to our family, and we couldn't ask for anything more. Well, except Mateo... I think he secretly wants a brother, but Eva's giving him a run for it. I can't believe a year has passed by so quickly, and it was time for her first birthday. Of course, I had to plan something fun and design a cake to match. I went online looking for some inspiration and I came across winter themes, then Valentine's Day... then I saw it! I found the cutest Valentine's Day edition Buff Monster ever!. A side note about myself, I love designer toys and vinyls... I mean LOVE. This was right up my alley, and was reminiscent of Mateo's first Dunny cake. I knew exactly what I had to do, and started planning the party.
Like all of my carved cakes, I started with a nice template to guide me on how much I needed to bake or carve away. Luckily for me, I had plenty of Ice Cream Minis on hand to reference. I stacked a 8" round on the bottom, two 9" cakes in the middle, and another 8" on top.
 Once the 4 cake layers were baked and cooled, I leveled and filled the bottom two layers. I then added support straws into the bottom half, and then placed a 7" cake board on top of the stacked cake. I then stacked the other 9" cake and 8" cake on top of the 7" cake board.
With all my layers stacked, I slowly started carving away at my cake. I used my template as my guide, sitting at eye level, and rotating the cake inch by inch. My advise for cake carving is to use a really sharp knife, carve away small sections, a chilled cake carves easier, and don't be afraid! Once I got the cake to a shape I was happy with (I carved too much away from the very bottom), a crumb coat was smoothed on before I laid on a blanket of black fondant.
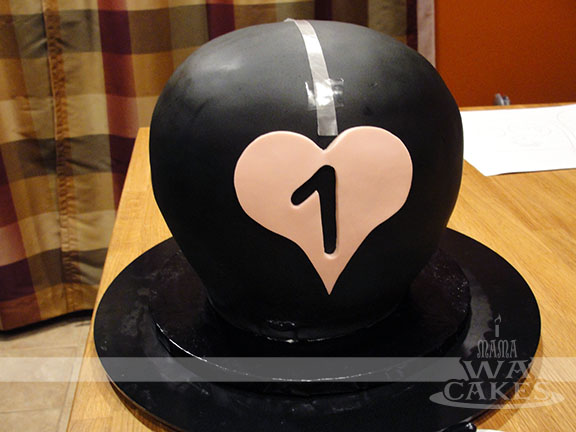
 Using the template, I cut out and applied the pink fondant accents to
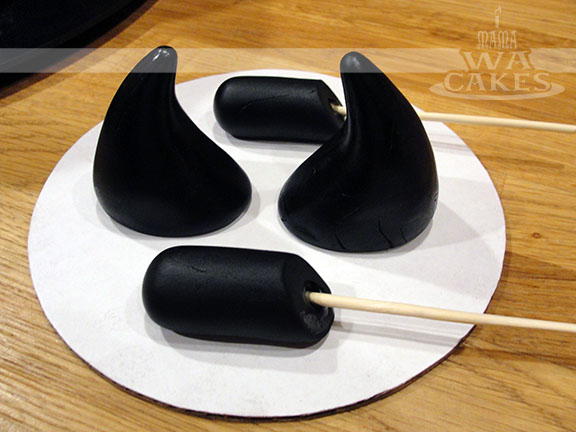
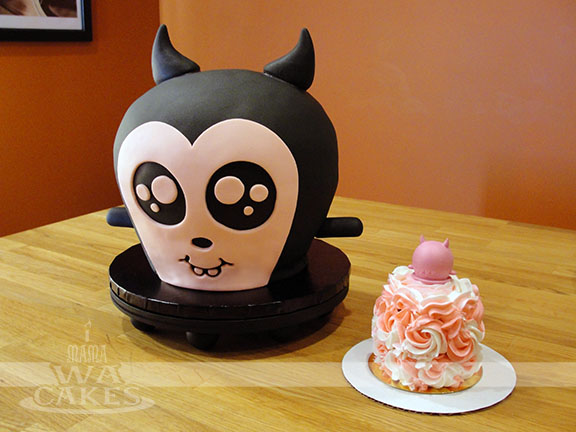
  the front and back of the cake before adding the horns and arms that where shaped of out of a 50/50 fondant and gumpaste mixture. I tend to have an issue with aligning the front and back, side to side, placing decorations evenly. A trick I came up with is to use long strips of wax paper and taping it to the cake... scotch tape is food safe! This has helped me immensely to avoid lopsided arms and ears. To complete this cake, it was placed on a custom cake stand made of wood and round drawer knobs that the guys at work helped me put together :) A proper Buff Monster needs its signature round feet.
 For Eva's smash cake, I went with a 3" cake decorated in two toned buttercream rosettes. Buttercream rosettes are so easy to do, and they look wonderful for different occasions. I also figured buttercream would be easier for her to eat or dig her hands into, and in her case, put her face into. Happy Birthday to my little monster!


Post a Comment
I would love to hear what you think!