Cute Piggy Cake
October 29, 2014
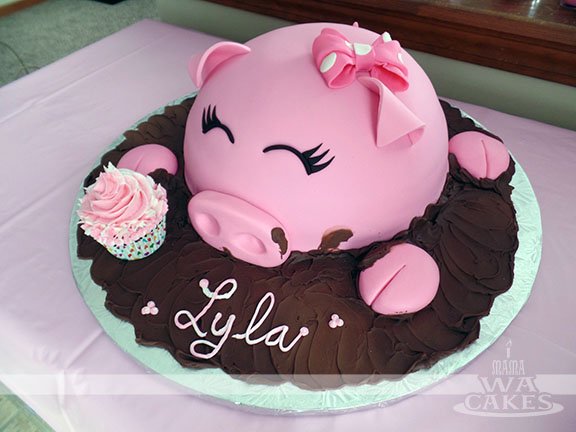
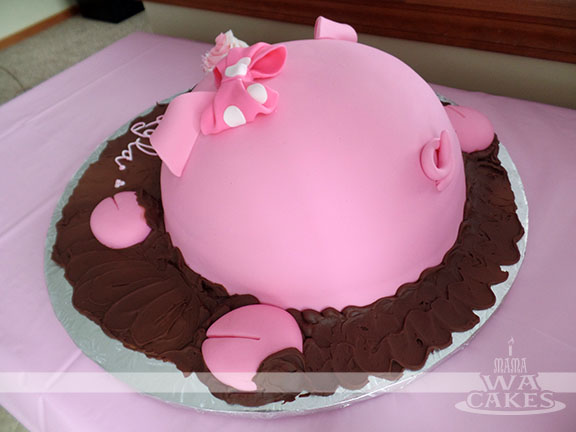
Last month, I had the pleasure of creating an adorable cake for my sister's friend... It was her little girl's 1st birthday! When she told me what she wanted, I was excited and quickly began brain storming.
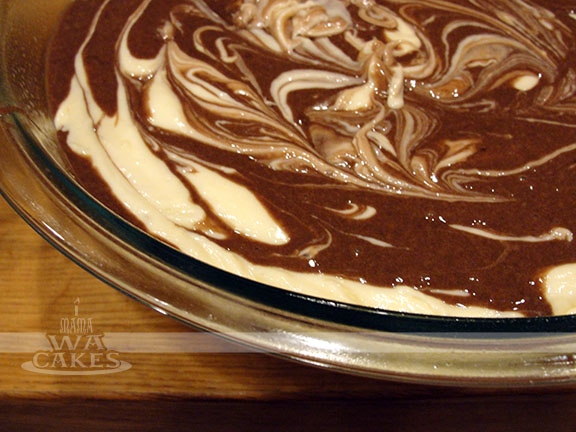
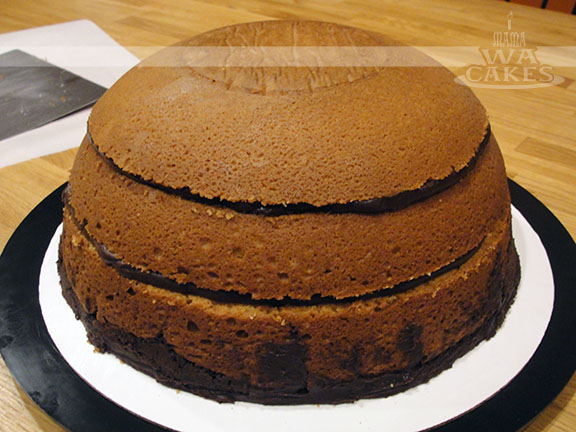
Normally, I would bake a series of cakes, stack them, and carve it to the desired shape. This process takes quite a bit of time, and creates quite a mess. However, for this cake, I found use of a kitchen item that I've had for years. And it can be found in most households... an oven safe glass bowl! I used a 4 qrt mixing bowl, and made sure it was nicely coated with baking spray. I poured the vanilla cake batter into half of the bowl, and carefully added dollops of chocolate cake batter. I then poured in the remaining vanilla batter and more chocolate dollops. Using a long skewer, I carefully swirled the two batters together to create a marbled cake. With a cake this big, I preheated the oven to only 325 degrees instead of 350. Baking it at a lower temperature, will ensure that the cake will done all the way through, without drying or burning the outer parts. Of course, the bake time will be longer than normal.
After the cake is baked and cooled completely, I leveled and torted the cake into 3 layers. To level a cake like this, the easiest way is to run a knife long the top of the bowl and keeping it straight until cut completely through. The layers were then filled with strawberry preserve, and crumb coated with buttercream. A blanket of pink fondant was then draped over the cake, and smoothed out by hand. For the distinct piggy nose, I created a large rectangle with rounded corners and indented the nostrils with a large ball tool. I then attached it to the cake with the help of some piping gel. I prefer to use piping gel or royal icing for large pieces like this, instead of water, for the holding power. The same goes for the piggy feet that I simply shaped out of balls of pink fondant.
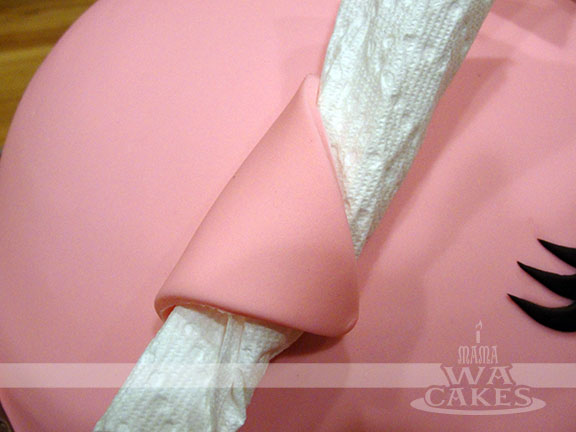
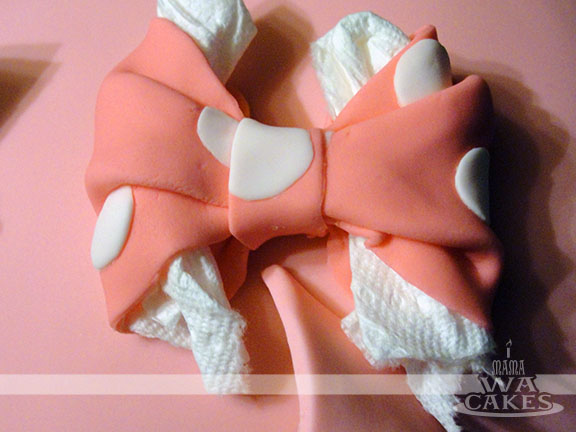
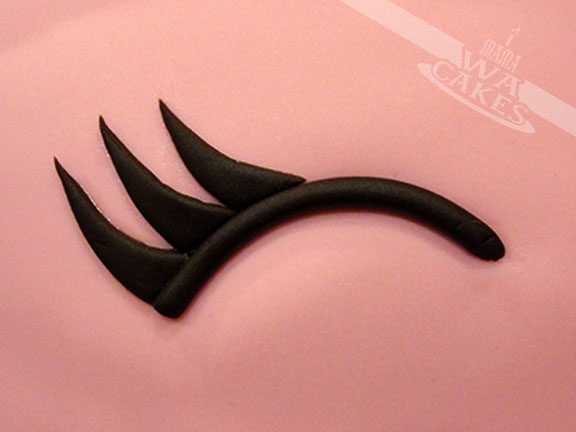
The ears were then created with the help of a large triangle cookie cutter. I attached them to the cake with a touch of water, and draped it over rolled up paper towels to create a nice dimensional shape. I do not remove the paper towels from under the ears until the cake is on the dessert table. It acts as a fail-safe during the commute, not sure if it helps or not.... but it makes me feel better during the drive! The same rule applies to the polka dot bow on her head. Isn't it it adorable? I rolled out a thin strip of fondant, and added white polka dots to it. I gently rolled over the "ribbon" again with my rolling pin to make sure the polka dots are attached and flattened. I then creased and folded the bow over rolled paper towels to created the billowy shape. The smiling eyes were created with black fondant strips, and curved triangles for the lashes. For the curly tail, I rolled out a tapering log and curled it on itself. I let this set for a few hours prior to attaching it to the back of the cake. Last but not least, no piggy would be complete without a mud bath! This one preferred whipped chocolate buttercream, and tons of it was swirled onto the cake drum. I think she got some on her nose :) Now that is one cute piggy!
Subscribe to:
Post Comments (Atom)





Post a Comment
I would love to hear what you think!